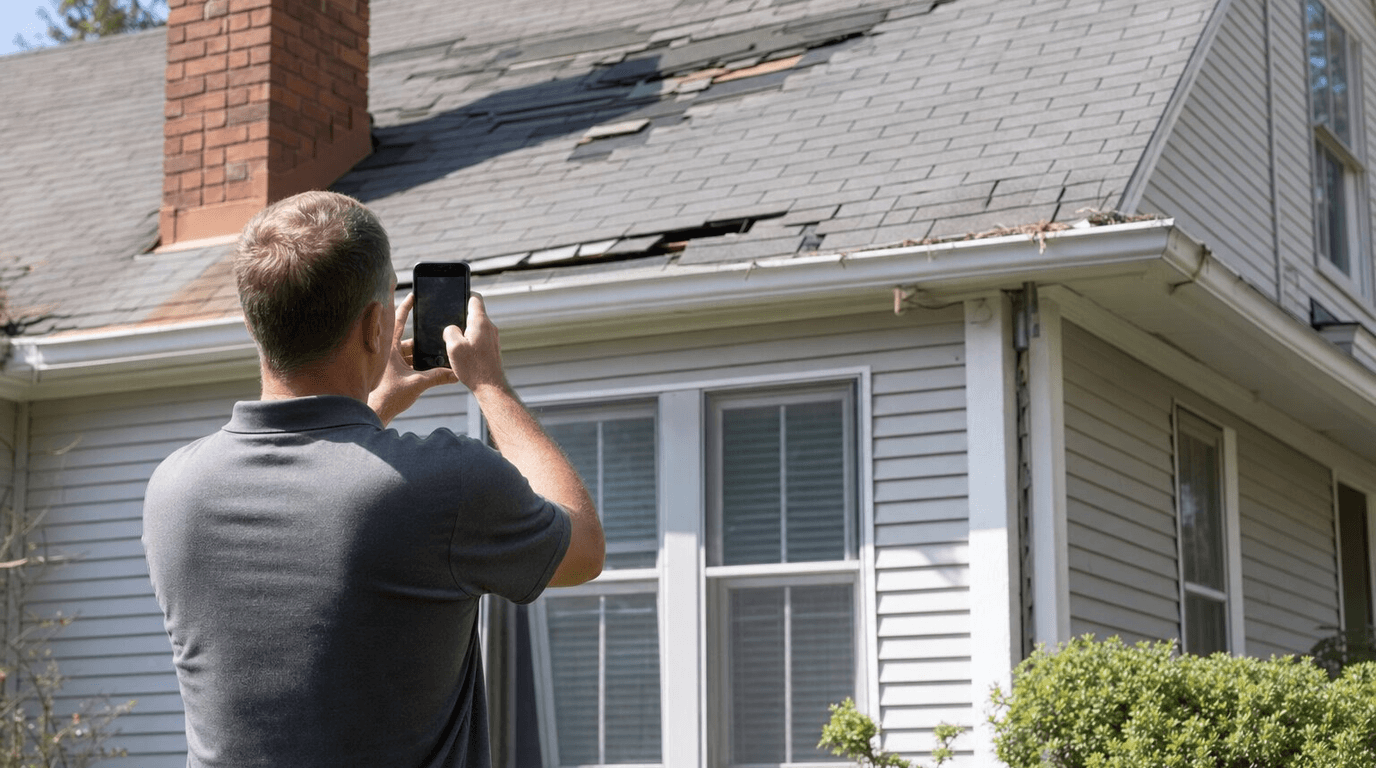
Most Wisconsin Homeowners Leave This Claim Money Behind
A hailstorm rolls through Brown County in June. Two weeks later, you notice some granules in the gutter and a few shingles that look off. You call your insurance company, they send an adjuster, and three months later you're either holding a check or staring at a denial letter — and you're not entirely sure how you ended up on one side versus the other.
That's the experience most homeowners have with roof insurance claims. And it's mostly because the process is opaque. Insurers know it well. Most policyholders don't.
This guide lays out exactly how to file a roof insurance claim in Wisconsin, from the moment the storm passes to the day repairs are complete. If you follow these steps, you'll have the documentation, the timeline, and the advocate you need to get a fair outcome.
Step 1: Don't Wait — Check for Damage Right After the Storm
Timing matters more than most people realize. Wisconsin homeowners policies typically include a reporting window for storm damage, often 12 months from the event, though some carriers are shorter. That sounds like a long time, but here's what happens: damage that goes uninspected starts looking more like wear and tear the longer it sits. Oxidation sets in around exposed mat. Granule loss spreads. An adjuster six months later has a much easier time attributing damage to age.
Within 24 to 48 hours of a significant storm, do a ground-level walk of your property. You're not going on the roof — leave that to a professional. But you can safely check:
- Gutters and downspout splash pads for new dents
- Window screens and storm window frames for pockmarks
- Your AC condenser fins for fresh impact marks
- Painted wood trim and siding at eye level
- Shingle granules at the base of downspouts (more than usual is a sign)
Those soft-metal dents on gutters and AC units are some of the most useful early evidence you have. Metal doesn't age into dents. Those marks came from a specific event.
If you see any of these signs, your next call should be to a roofer, not your insurance company. Not yet.
Step 2: Get a Professional Roof Inspection Before You Call Your Insurer
This is the step most homeowners skip, and it's the one that costs them the most.
When you call your insurance company first, they send their own adjuster. That adjuster works for the insurer. They're not necessarily trying to low-ball you, but their job is to assess damage according to the policy — and they're doing it quickly, usually in under an hour, often without getting on the roof. What they miss, they miss.
If you get your own free roof inspection first, you go into the claim with documentation already in hand. A detailed inspection report from a qualified roofing contractor shows:
- Which areas of the roof were affected
- The hit density per test square (critical for establishing functional damage)
- Matching damage on soft metals that corroborates the storm-impact timeline
- The estimated scope of repair or replacement
That report becomes your baseline. If the adjuster's assessment comes in lower, you have something to push back with. Without it, you're negotiating blind.
Our storm damage inspection service is specifically designed for this situation. We've been doing these inspections in Northeast Wisconsin for over 30 years and we know exactly how to document damage in a format that insurance adjusters and carriers recognize.
Step 3: Review Your Policy Before You File
Pull out your homeowners insurance policy — or call your agent and ask them to walk you through the relevant sections. Before you file, you want to know:
Your deductible. This is the amount you pay before insurance covers anything. Wisconsin has seen an increase in percentage-based wind and hail deductibles in recent years, meaning your deductible might be 1% or 2% of your home's insured value rather than a flat dollar amount. On a $300,000 home, a 2% deductible is $6,000. Know this number before you file.
ACV vs. RCV. Actual Cash Value (ACV) policies pay you the depreciated value of your roof. Replacement Cost Value (RCV) policies pay the full cost to replace it. ACV policies often issue an initial payment based on depreciated value, then release a "recoverable depreciation" payment once the work is actually done. If you have RCV coverage and don't complete the repairs, you may only collect the ACV portion.
Coverage exclusions. Most policies explicitly exclude normal wear and tear, deterioration, and damage from inadequate maintenance. If an adjuster can argue your damage falls into one of those categories rather than a storm event, it affects your payout. This is why the inspection documentation in Step 2 matters so much.
Reporting deadlines. Confirm the exact window your policy allows for reporting storm damage claims.
Step 4: Open Your Claim with the Insurance Company
Once you have your inspection report in hand and you've reviewed your policy, call your insurer to open a claim. Have the following ready:
- Date the storm occurred (check local weather records or NOAA storm data if you're not sure)
- A description of what you found and when you noticed it
- Your inspection report from the roofing contractor
- Photos you took during your ground-level walk
When you speak with the claims representative, be factual and straightforward. Describe when the storm happened, what type of damage was found on inspection, and that you have documentation to share. Don't speculate about costs or scope at this stage — let the inspection report do that work.
The insurer will assign an adjuster and schedule an inspection date. That's normal. The process takes time. Your job right now is to get the claim open and the documentation submitted.
Step 5: Be Present When the Adjuster Arrives
Don't let this appointment happen without you there. Better yet, ask your roofing contractor to be present too.
Having your contractor on site during the adjuster's inspection is one of the most effective things you can do for your claim. They know what to look for, they can point out damage that's easy to miss in a quick inspection, and they can speak the same technical language as the adjuster. When a roofer says "functional damage threshold" or references specific hit counts per test square, adjusters take note in a way they won't when a homeowner points at the roof and says "it looks bad up there."
If your adjuster gets on the roof, that's good. Some don't. If they're doing a quick visual from the ground, ask whether they plan to inspect from the surface — and document that you asked.
Take notes during the inspection. Write down what the adjuster said they did and didn't see, what areas they examined, and approximately how long they spent on site. This protects you if there's a dispute later.
Step 6: Review the Adjuster's Report Carefully
After the inspection, your insurer will send you a written scope of loss — a document detailing what damage they found, what they're covering, and how they calculated the payout. Read it carefully.
Specifically, check:
- Whether the full scope of damage matches what your inspection report documented
- Whether the line items for materials and labor reflect current market rates in Wisconsin (they often lag behind actual costs)
- How depreciation was calculated and what the recoverable depreciation amount is
- Whether any damage was excluded and on what grounds
If the adjuster's scope is meaningfully lower than your contractor's estimate, that's not necessarily the end. You have options.
Step 7: Dispute Discrepancies the Right Way
Insurance adjusters don't always get it right the first time. Underpaid claims are common, especially after major storm events when adjusters are handling high volume across a wide area.
If your contractor's documented scope and the insurer's scope of loss don't match, here's how to push back:
Request a re-inspection. Ask the insurer to send the adjuster back out with specific items from your contractor's report that were not included. Put this request in writing.
Submit a supplemental claim. If the initial inspection missed line items or used outdated pricing, a supplemental claim formally asks the insurer to reconsider specific items. Your contractor should help prepare this.
Invoke the appraisal clause. Most homeowners policies include an appraisal process for disputed claims. Both parties hire an independent appraiser, and a neutral umpire resolves disagreements. It's slower, but it's there for a reason.
Ask about a public adjuster. A licensed public adjuster works for you, not the insurer. For large or complex claims, their fee (typically a percentage of the settlement) can be worth it if they recover more than you'd have gotten otherwise.
At Pierce Roofing, we've helped homeowners across Brown, Kewaunee, Oconto, Outagamie, Winnebago, and Manitowoc counties through this entire process, including disputes. We know how Wisconsin adjusters typically write scopes for hail damage roof repair and wind damage roof repair, and we can help you identify where a scope falls short.
Step 8: Choose Your Contractor Carefully
Once the claim is approved, the insurance company may offer a list of preferred contractors. You are not required to use their list. In Wisconsin, you have the right to choose your own licensed contractor.
After a major storm, out-of-state storm chasers move into areas like Green Bay specifically to sign up insurance jobs. They're here for the claims volume, not because they know your area or plan to honor a warranty when something goes wrong two years from now. Be cautious of any contractor who:
- Shows up unsolicited at your door right after a storm
- Offers to waive your deductible (this is insurance fraud in Wisconsin)
- Won't give you a written estimate or scope before you sign anything
- Pressures you to sign an Assignment of Benefits form before you've reviewed the claim
Choose a contractor who's been in your market long enough to have a track record and who carries real credentials. Michael Pierce has operated in Northeast Wisconsin for over 30 years. We're Atlas PRO+ Platinum certified, carry $2 million in liability coverage, and back every job with a 10-year workmanship warranty. When you need a repair after a claim, you want someone who'll still be here when you call.
Step 9: Complete the Repairs and Collect Recoverable Depreciation
If you have an RCV policy, this step matters. Once repairs are complete, send your insurer the final invoice from your contractor. This triggers the release of your recoverable depreciation payment — the portion they withheld at the initial payout stage.
Don't skip this. That payment can be significant, sometimes as much as 20% to 30% of the total claim value on an older roof.
Keep all documentation from the repair: the final invoice, a description of the work performed, any warranties issued. You'll need these if there's ever a future claim question about what work was done and when.
A Note on Wisconsin Storms and Why This Process Matters Here
Northeast Wisconsin sits in a part of the country where severe hail and wind events are regular facts of life. Brown County alone sees multiple damaging storm events most years. The hail season runs roughly May through September, with the worst events often hitting in June and July.
That means if you're a homeowner in Green Bay, De Pere, Appleton, or anywhere in the six-county area we serve, this probably isn't a one-time situation. Understanding how the claims process works now — before the next storm — puts you in a much stronger position when it matters.
For more detail on what storm damage looks like and how we assess it, see our full storm damage services page.
Get a Free Inspection Before Your Next Claim
The best time to call a roofer is before you file, not after. An independent inspection report is the single most useful thing you can have when your insurance company sends someone to evaluate your home.
Michael Pierce and the Pierce Roofing team offer free roof inspections for homeowners in Brown, Kewaunee, Oconto, Outagamie, Winnebago, and Manitowoc counties. We'll get on your roof, document what we find, and give you a straight answer about what you're dealing with — whether that's a repair, a replacement, or a clear case for an insurance claim.
Call us at (920) 609-8304 or request a free estimate online. We'll take it from there.