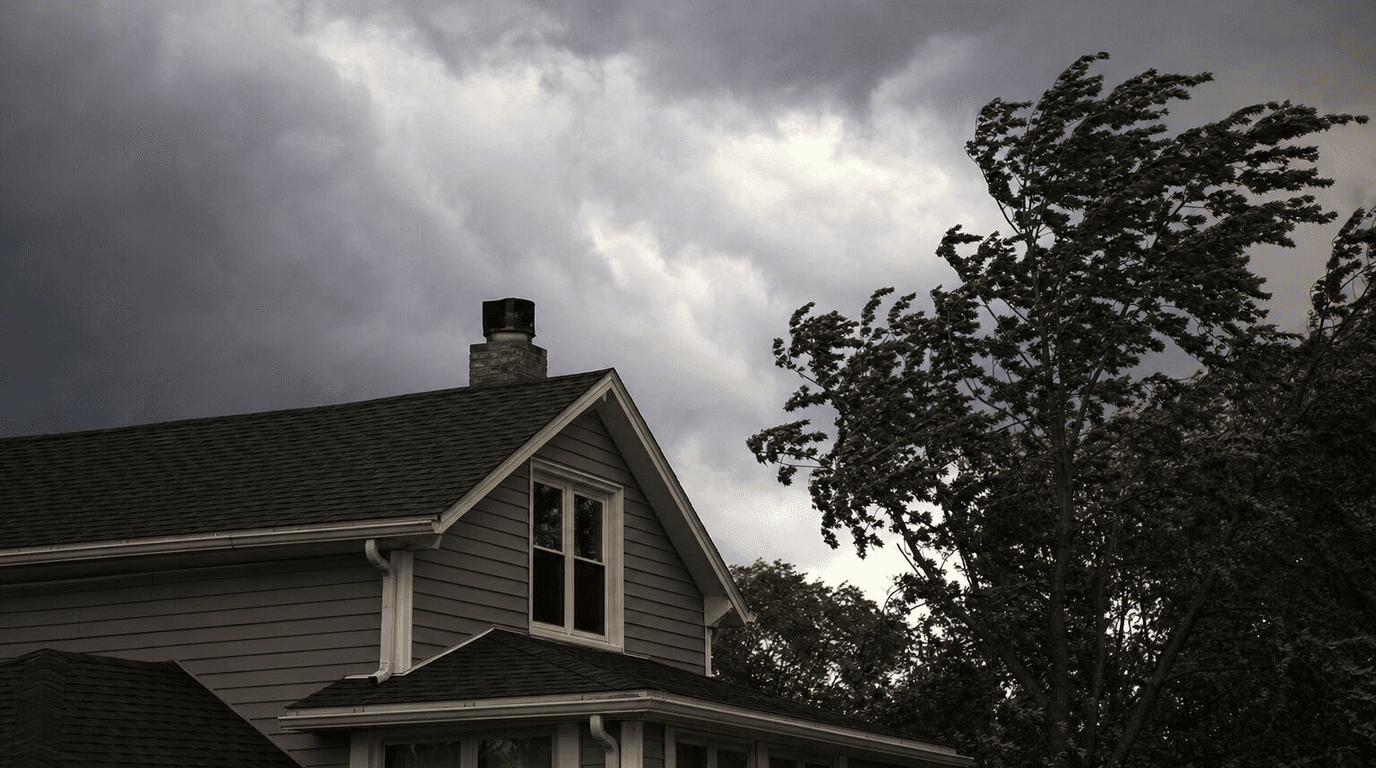
Why Wisconsin Windstorms Are Harder on Roofs Than People Expect
Most Green Bay homeowners think of tornadoes when they think of wind damage. But in Northeast Wisconsin, the storms that do the most cumulative damage aren't dramatic enough to make the news. They're the 60 mph gusts that roll through in October, or the derecho-style straight-line winds that follow a summer thunderstorm, or the sustained 45 mph northwest winds off Lake Michigan in November. None of those events get a siren. All of them can leave your roof significantly compromised.
Wind damage to roofs works differently than hail or ice. It's about pressure dynamics. When wind hits a roof, it creates a low-pressure zone on the leeward side — think of how a flag pops in a gust. That differential pressure pulls at the shingles from underneath, working against the adhesive strips and roofing nails that hold everything in place. Add in any existing weak points — a shingle that was already starting to curl, a nail that didn't set correctly, flashing that was never properly sealed — and you have a failure waiting to happen.
Protecting your roof against windstorm damage in Wisconsin is partly about what you do before a storm hits, and partly about making sure your roof is in the kind of shape that can actually absorb what this climate throws at it. Both matter.
What Typically Fails First in a Windstorm
Understanding where roofs fail under wind pressure changes how you think about prevention. These aren't random failures. There's a pattern.
Roof edges and corners take the most stress. The physics here are straightforward: wind flowing over a roof creates the most uplift at the perimeter, particularly the corners and eave edges. This is why you'll often see shingles blown off in strips from the bottom edge of a roof rather than from the middle. Those edge shingles were likely already starting to lift, and the wind finished the job.
Ridge cap shingles are a frequent casualty because they sit at the peak of the roof and are exposed to wind from every direction. They're also the shingles most likely to have been installed with too few nails or with fasteners that didn't penetrate properly into the decking below.
Flashings around chimneys, skylights, and pipe boots are another weak link. Flashing is typically metal that's sealed against the roof with caulk or roofing cement. Over time those seals dry out and crack. Wind catches the edges of lifting flashing and peels it back, creating an immediate water intrusion path.
Tree impact zones are obvious — but the less obvious problem is limbs that brush and scrape against shingles every time the wind blows. A branch that contacts your roof repeatedly over several years will wear through the granule surface on those shingles long before a storm arrives to cause obvious damage.
Before the Storm: What Actually Protects Your Roof
There's a lot of advice floating around about windstorm preparation that amounts to "hope for the best." Let's skip that and focus on the things that genuinely reduce your exposure.
Get a Roof Inspection — Especially in Fall
October and November are the worst possible times to discover you have a weak roof. The wind is picking up, the roofers in Green Bay are busy, and you're racing against the cold. The homeowners who come through Wisconsin windstorms with the least damage are the ones who went into the season with a roof that had already been checked out.
A professional inspection catches the things that matter most from a wind resistance standpoint: shingles that are lifting at the edges, missing or improperly installed ridge cap, flashing that's lost its seal, and fasteners that have backed out of the deck. None of those things are obvious from the ground. Most of them are simple to address before a storm; expensive to deal with after.
Our free roof inspection service covers all of this. We'll walk every plane of your roof and tell you exactly what we find. If there's nothing urgent, that's a good answer too.
Trim Trees Before Wind Season
This one is underrated. Any branch that can reach your roof during a windstorm is a liability — whether it contacts the roof repeatedly in normal wind or snaps completely during a severe storm. The rule of thumb we use: if a branch is within 10 feet of your roof surface under calm conditions, it's close enough to cause damage when it's whipping in 50 mph gusts.
Focus first on large limbs hanging directly over or near the roof plane. Dead wood comes down first and hits hardest. Have an arborist assess anything large enough that you're not sure if it's structurally sound.
Check and Reinforce Roof-to-Wall Connections
If your home is older, your roof framing may be tied to the walls less securely than current Wisconsin building codes require. Hurricane straps and rafter ties have been standard in higher-wind regions for years, and while Green Bay isn't coastal Florida, the sustained wind loads here are real. If your attic is accessible, it's worth having a contractor look at how your rafters or trusses connect to the top plate. This matters more for older homes built before the mid-1990s.
Know Your Shingle Wind Rating
Not all asphalt shingles are rated the same. Standard 3-tab shingles carry a Class D wind rating, which means they're tested to 90 mph. Architectural shingles vary but many carry a Class F or Class G rating, and some premium products carry a Class H rating — tested to 150 mph. If you're replacing a roof and you're in an area that gets consistent severe wind exposure, this specification actually matters.
Atlas shingles, which we install as an Atlas PRO+ Platinum certified contractor, include products rated well into the Class F and H range. It's worth asking your contractor what wind rating the shingles they're proposing actually carry.
During the Storm: What You Can and Can't Do
Honestly, if the storm is already happening, there isn't much to do. Get inside and stay there. Do not go up on the roof during high winds under any circumstances — this should be obvious, but people get hurt every year trying to do exactly that.
The one thing worth doing during or immediately after a storm: do a mental note of anything you see or hear. Water staining on ceilings developing during the storm. The sound of something impacting the roof. Visible debris from your windows. This kind of first-hand observation helps narrow down where damage may have occurred when you're doing your post-storm assessment.
After the Storm: Your Assessment Sequence
Windstorms don't always leave obvious signs. A shingle that's partially lifted but not blown off is invisible from the ground and still letting water in under the right rain angle. Here's the sequence we recommend.
Start With What You Can See From the Ground
Walk the full perimeter of your home before doing anything else. You're looking for:
- Shingles on the ground or in your yard — the most obvious indicator, but not always present even when there's roof damage
- Exposed roof deck (dark or bare wood visible where shingles should be)
- Lifted or curled shingles at the eave edges — sometimes visible from the right angle
- Debris impact damage on siding, gutters, or window frames (if it hit those, it hit the roof too)
- Gutters that are bent, pulled away from the fascia, or twisted — strong winds load gutters significantly
Use binoculars if you have them. Walk to each corner of your yard and look at the roof from a low angle. Raking light shows surface irregularities better than overhead sun.
Check the Attic
Before any contractor visits, get into your attic if you can access it safely. Bring a flashlight and look for:
- Daylight visible through the roof deck — a clear sign of missing shingles or damaged decking
- Fresh water staining on the decking, rafters, or insulation
- Wet insulation in areas that weren't wet before
Photograph anything you find with your phone. Date-stamped photos taken immediately after the storm are useful if an insurance claim follows.
Get a Professional Up There
The ground and attic assessments give you a preliminary picture. The full picture requires someone on the roof. Wind damage in particular has a way of showing up in places that aren't visible from below — lifted ridge cap that looks fine from the ground but is no longer sealed, flashing that's been bent enough to compromise its weatherproofing, nail pops across a large section of the roof that create hundreds of small leak points over the next few months.
Our storm damage assessment service is specifically designed for post-storm situations. We've responded to wind events across Brown, Outagamie, Kewaunee, Oconto, Winnebago, and Manitowoc counties, and we know what to look for.
Don't Skip Documenting for Insurance
If your wind damage roof repair is significant, your homeowner's insurance may cover a portion or all of it. Document before any repairs begin:
- Photos of all visible exterior damage (roof, gutters, siding, windows)
- Attic photos showing any interior evidence
- A log of the storm date, time, and any weather service data you can pull
- Receipts or documentation of any emergency tarping done to prevent further damage (most policies cover emergency mitigation costs)
Call your insurance company before you authorize any major repair work. You want the claim filed and an adjuster scheduled before the roof is touched beyond emergency tarping.
The Longer Game: Building a Wind-Resistant Roof
If your current roof is aging out and you're looking at replacement, wind resistance is one of the most worthwhile specs to pay attention to in Northeast Wisconsin. A few things that genuinely move the needle:
Six-nail installation patterns instead of the standard four nails per shingle significantly improve wind uplift resistance. It's a simple specification that costs almost nothing in materials and labor and makes a real difference in high-wind events.
Ice and water shield extended to eaves protects the most wind-vulnerable part of your roof even if shingles are partially compromised. Some Wisconsin contractors only run it the minimum 24 inches from the eave. Running it further up the roof plane provides a redundant barrier where wind damage is most likely.
Proper soffit ventilation keeps attic pressure balanced, which indirectly reduces the pressure differential that pulls at shingles in wind events. An over-pressurized attic makes wind uplift worse. Good roof maintenance includes keeping ventilation clear and functional year-round.
Sealed ridge vents designed for high-wind installation are a better choice than open-baffle ridge vents in our climate. The wind-resistant versions are baffled in a way that maintains ventilation without becoming a lift point in a storm.
The Bottom Line on Wisconsin Wind Damage
Wind is the storm damage category that catches homeowners off guard most often in this region, because the storms that cause it aren't always dramatic. A 55 mph gust on an ordinary fall evening is enough to loosen dozens of shingles on a roof that was already showing its age. By the time water shows up inside, the connection to that windstorm is easy to miss.
The homeowners who handle this the best are the ones who stay ahead of it — annual or biannual inspections, trees trimmed back from the roof, and a contractor relationship established before they actually need one. Getting an inspection when things are fine is a much better situation than calling around during a stretch of severe weather when every roofer in Northeast Wisconsin is already booked out.
Michael Pierce has been working roofs in Green Bay for over 30 years. Pierce Roofing is Atlas PRO+ Platinum certified, carries $2 million in liability insurance, and backs every job with a 10-year workmanship warranty. If you're concerned about how your roof held up in a recent windstorm — or you just want to know what shape it's in heading into another Wisconsin winter — we'll come take a look.
Call us at (920) 609-8304 or request a free estimate online. We serve all of Brown, Kewaunee, Oconto, Outagamie, Winnebago, and Manitowoc counties.